Hello!
I'm really excited to show you my pretty little bench seat! I came across a tutorial for a bench
here and was instantly inspired. This tutorial gives you a list of supplies, they came out a lot cheaper on this list than what I was finding when shopping for them. I went to Lowe's to buy the legs for my bench and they were 10 dollars a piece! So, without even buying fabric or anything, I was already going to spend 40 bucks! So, I decided to go another route.
I found a coffee table at a yard sale for 10 dollars that had these great fancy legs on them. The legs at Lowe's were just straight. The curvy ones at Lowe's were almost 20 DOLLARS!! Needless to say, 10 dollar coffee table...yes please! One problem--being that these legs were from a coffee table, they were pretty low to the ground. This is where my Fiance came in. He took my simple bench into something WAY more! He decided that we would add a box for storage on top.
Here are the steps we took to make the bench. ( Please excuse the background..this is Dan's "Man Cave"/Work Shed)
$10 yard sale coffee table (Dan already primed the legs before I could take a picture...they were red just like the top)...
The box that would be added to the top of the legs for storage...
Dan added these strips of wood all around the sides to support the lower panel of the box (notice the bead board about 4 pictures away). He also added these strips on the bottom of the seat so that the seat would fit in the box snugly (<--is that a word??).
We bought a piece of wood from Lowe's to attach to the top for the seat. You'll want to get something thick and sturdy. I used a stair tread made from pine, it was almost an inch thick and eleven inches wide.
Now we attached the legs to the box to get ready for painting. We primed the top with a white primer and left the inside white.
Oh yea, Dan added bead board to the bottom of the box.
Next, we spray painted the whole outside with a satin black.
Now, time to get the top part of the bench ready. It was super easy and didn't require any sewing at all (my favorite part).
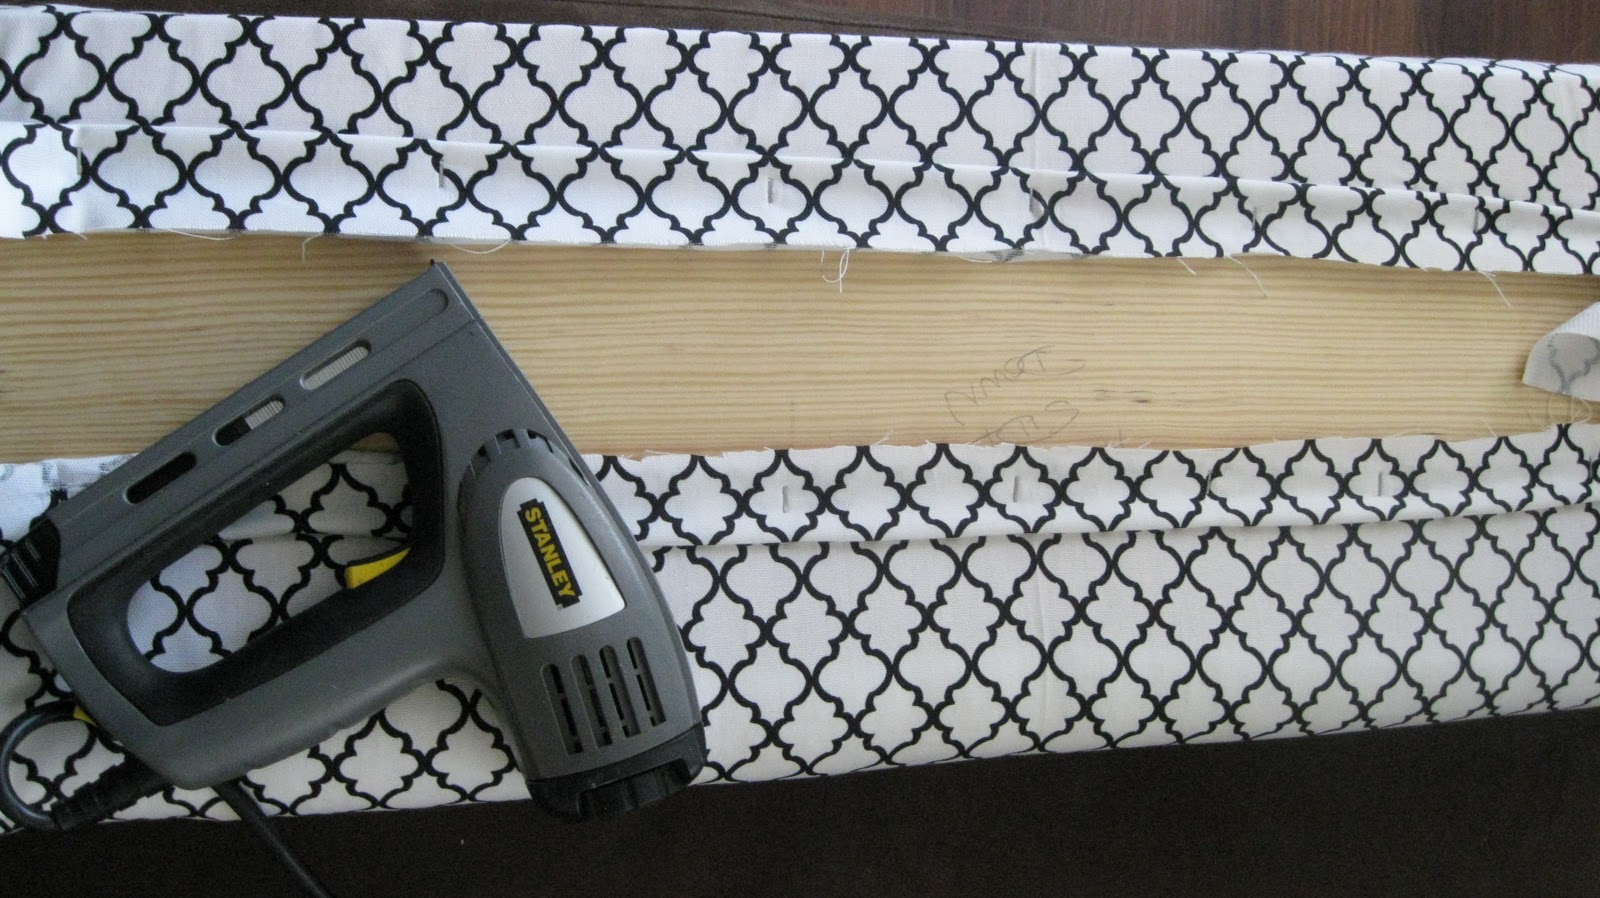
The batting was pretty thin so I folded it over so it was 8 layers thick and stapled it to the board before adding the fabric. Also, be sure not to over-lap the batting on the board. That way the board will be flush with the edges of the bench top. (Please excuse my prison-like bedroom...this is the one we are redoing so it's very bare right now)
Now, just do the same with the fabric. Make sure to pull tight so you get rid of any wrinkles and excess fabric. Also, make sure you line up the pattern on the fabric so it's straight.
I left about a 2 inch gap from the edges so that Dan could add the wooden strips to the seat.
Ta Da!
Here's the final product!!...
I am so proud of my bench! I'm redoing one of our guest bedrooms so this is the first project for that room. More to come!
We just painted the walls Grey...any ideas for a bedspread??